Technical Tuesday: Tubeless Conversion
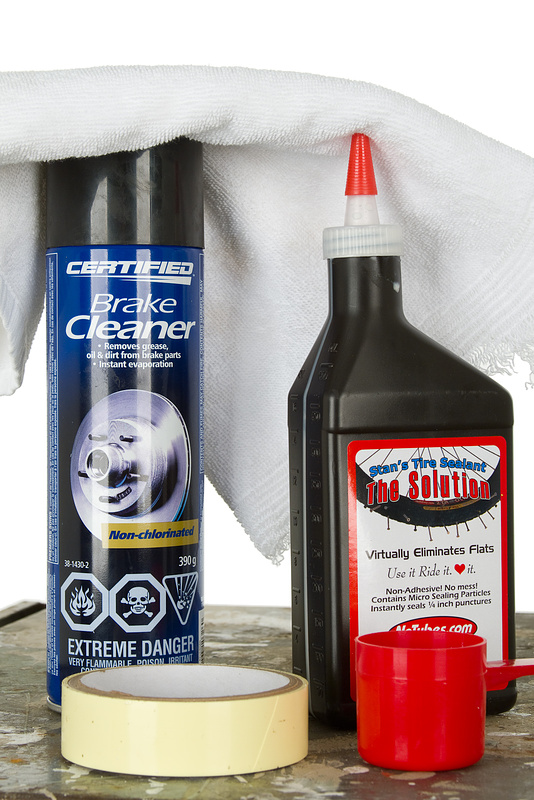
The time tested combination of a tire and tube has treated us well over the years, but the traditional system does have its drawbacks. A tube will always be more susceptible both to pinch flats and holes from thorns, rocks, and any other troublemakers that may be hiding on your local trail. More and more riders are turning to tubeless setups to avoid these troubles, but not all wheels and tires are manufactured with this in mind. Thankfully there are many kits out there that allow you to convert your standard wheels and tires to be able to avoid using tubes. We'll be converting our Maxxis tire and DT rim using Stan's NoTubes yellow tape, tubeless valve stems, and tire sealant. Watch the video below to see how it's done!
Keep in mind that you may be voiding your tire's warranty by converting it to tubeless if it is not designed to run as such. If you're good with that, then continue on!
Tools needed: Floor pump or compressor, rag, and a knife.
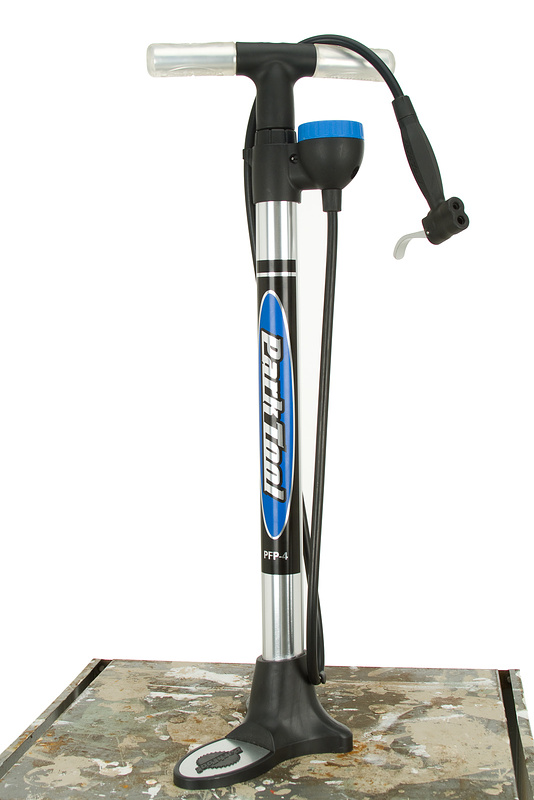 |
| A floor pump is all you need to seat some tubeless setups |
 |
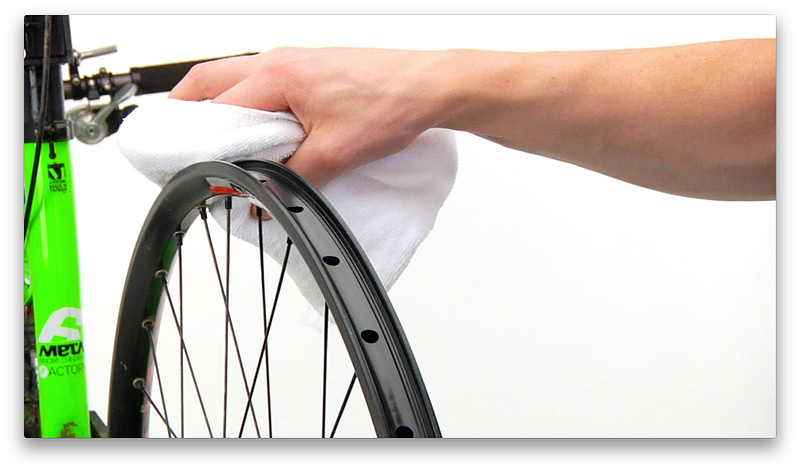 |
| 43 second mark - With wheel in bike or stand to hold it in place, clean rim thoroughly so the rim tape has the best possible chance of creating an airtight seal |
 |
| 1:11 mark - Pull rim tape very taunt as you apply it to the rim bed |
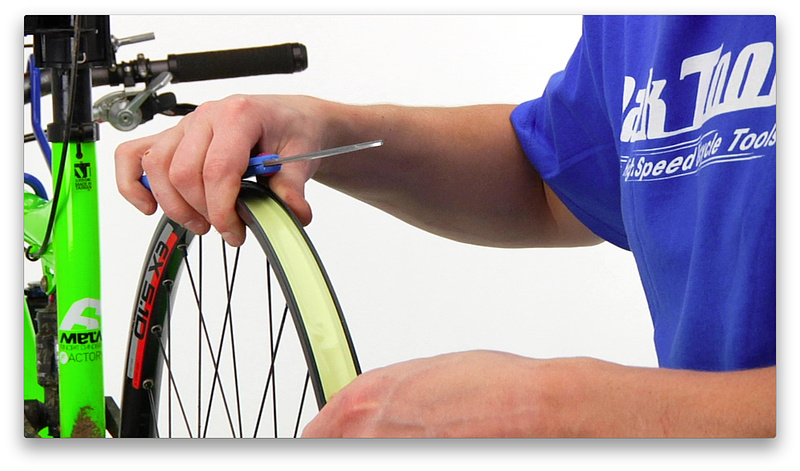 |
| 1:37 mark - Overlap tape by 6" and cut with sharp scissors. Use edge of tire lever to be sure that the tape is fully stuck to inside curves of the rim bed |
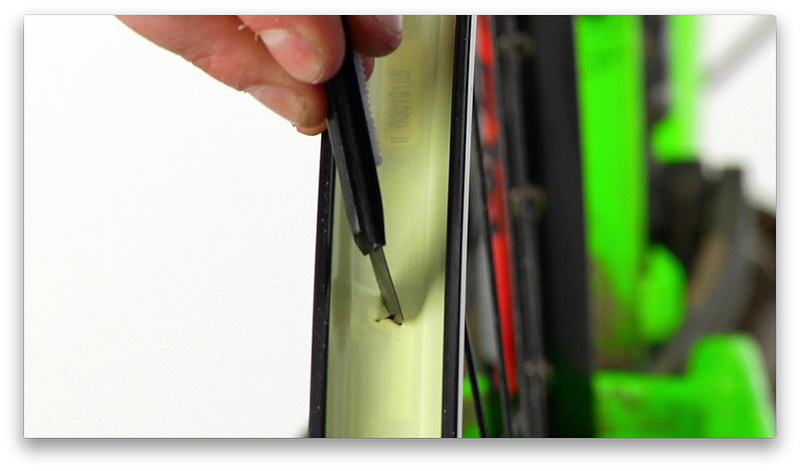 |
| 2:02 mark - Using a sharp knife, cut a small "X" to open the tape the is covering the valve hole. Be careful not to cut any extra beyond the hole |
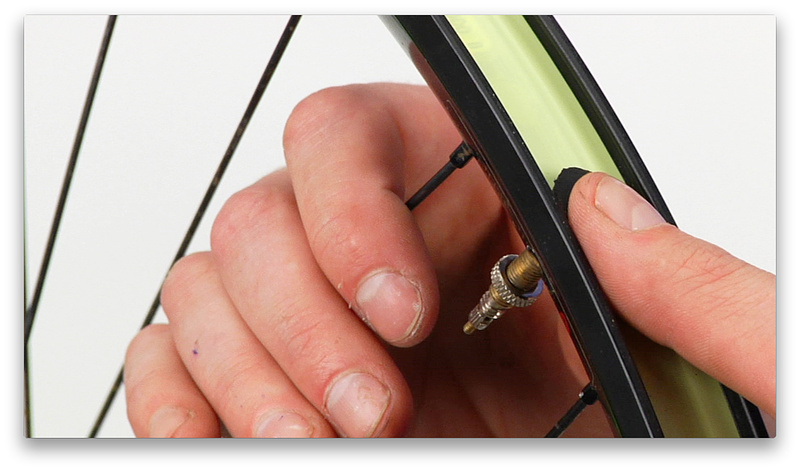 |
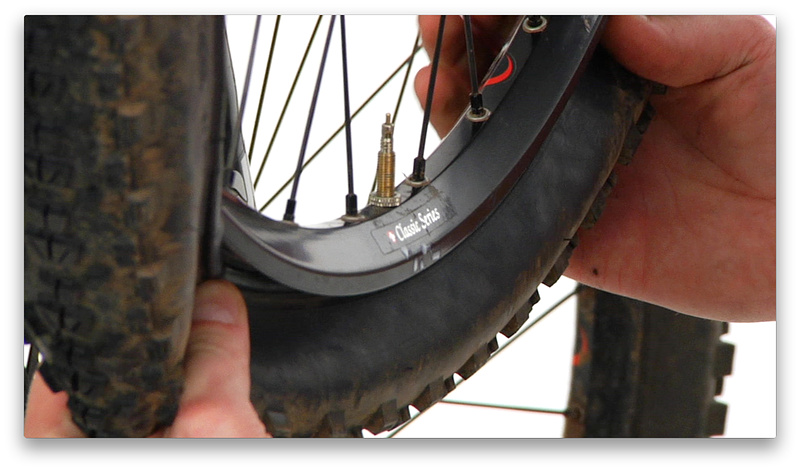
| 2:13 mark - Install the tubeless valve stem and tighten it securely with the lock nut |
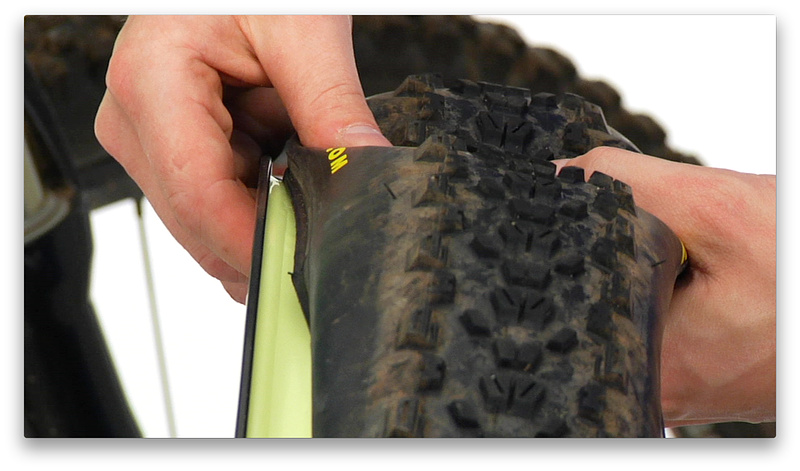 |
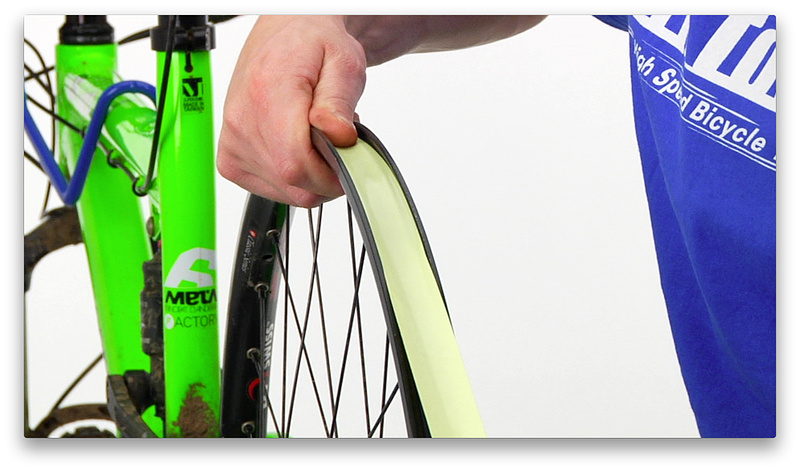
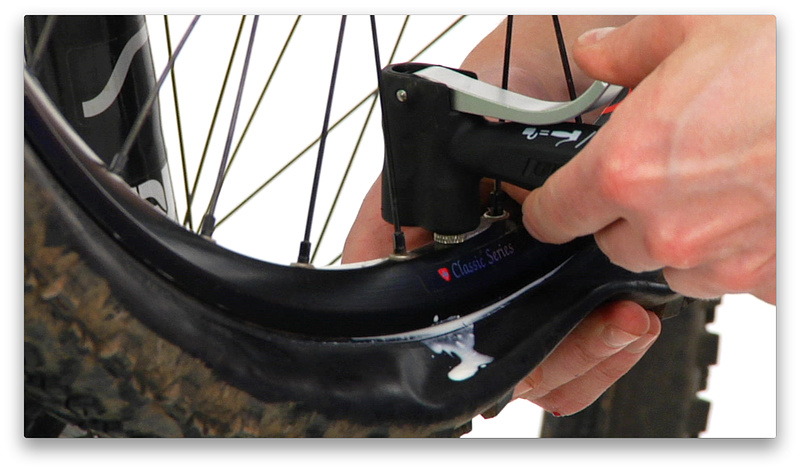
| 2:20 mark - Seat only one side of the tire, just as you would if you were installing a tube |
 |
| 2:31 mark - Hang the wheel off your handlebar or bike stand with the valve in the 6 o'clock position |
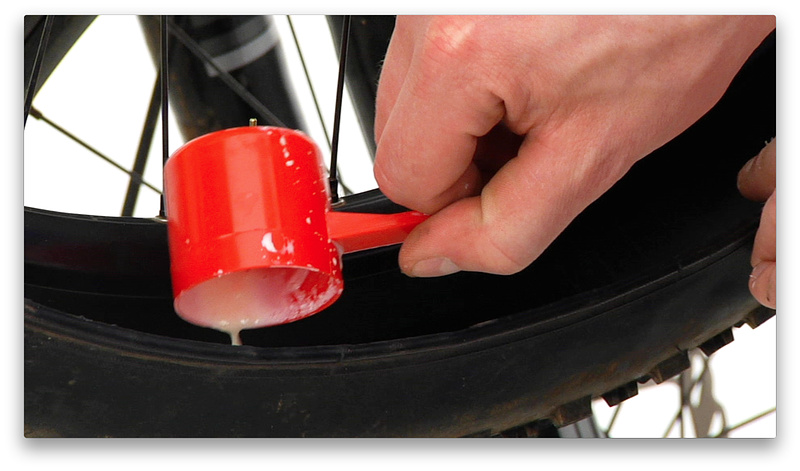 |
| 2:42 mark - Add the appropriate amount of sealant for your tire size |
 |
| 2:48 mark - Keeping the wheel in the same position (valve stem at 6 o'clock), use both hands to install the bead evenly around the tire, finishing at the 12 o'clock position |
 |
| 3:08 mark - Add air. Certain tire and rim combos may inflate quickly with only a pump, while others may require soapy water or a compressor to get them to seal |
 What next